
In this step-by-step guide, you will be shown how to create a homemade essential oil blend that can help alleviate cold and flu symptoms. This guide is designed to provide you with easy-to-follow instructions on blending essential oils to create a natural remedy for relieving congestion, soothing sore throat, and boosting your immune system. Whether you’re looking for a natural alternative to over-the-counter medications or simply want to explore the benefits of essential oils, this guide will help you create a personalized blend to combat cold and flu symptoms effectively.
Gather the necessary ingredients
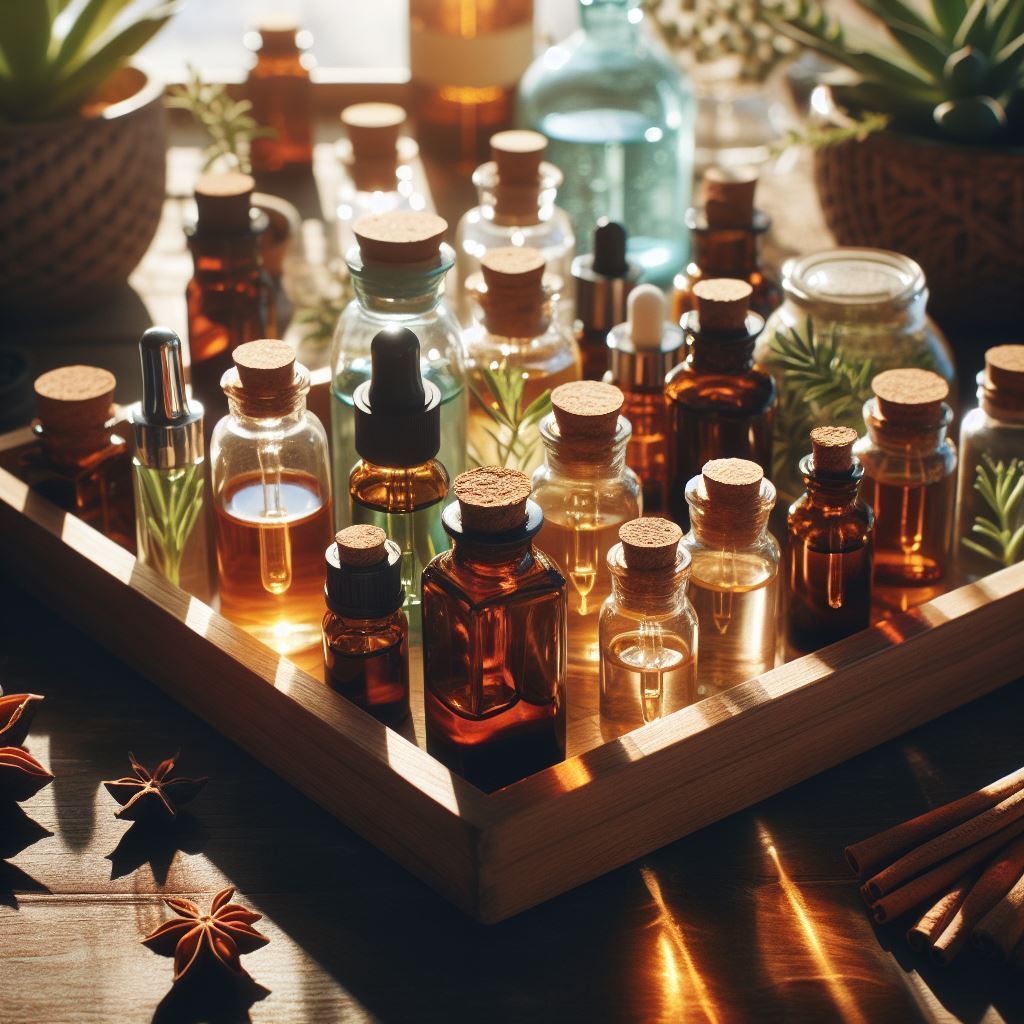
Collect the essential oils that are effective for cold and flu symptoms, such as eucalyptus, peppermint, tea tree, and lemon. These oils have been widely used for their therapeutic properties and can help alleviate congestion, reduce inflammation, and boost the immune system. To gather these essential oils, visit a local health store or order them online. Ensure that the oils you choose are 100% pure and of high quality to maximize their effectiveness.
Next, prepare a carrier oil like jojoba or coconut oil to dilute the essential oils. Carrier oils are used to dilute the concentrated essential oils, making them safe to apply topically. Jojoba oil is an excellent option as it closely resembles the skin’s natural sebum and is easily absorbed. Coconut oil is another popular choice due to its moisturizing properties. You can find carrier oils at health stores or online. Make sure to choose a carrier oil that suits your skin type and preferences.
By gathering the necessary essential oils and carrier oil, you can create a powerful blend that will help alleviate cold and flu symptoms effectively. Remember to properly store your essential oils in a cool, dark place to maintain their potency and extend their shelf life.
Choose the right proportions
Research the recommended dilution ratios for the essential oils you have chosen. This step is crucial to ensure that you are using the oils in a safe and effective manner. Typically, a 2% dilution is suitable for most adults. To calculate the number of drops needed for a specific blend, you can use a simple formula. For example, if you plan to make a 10ml blend, you’ll need about 10 drops of essential oil in total.
To determine the number of drops for each essential oil, you can divide the total number of drops (10) by the number of essential oils you are using in your blend. Let’s say you are using three different oils. Divide 10 by 3, which gives you approximately 3 drops for each oil. This is just a general guideline, and the specific dilution ratio may vary depending on the oil and the purpose of your blend. So, it’s always a good idea to consult reliable sources or aromatherapy experts to find the recommended dilution ratios for the specific essential oils you are working with.
Mix the oils
To mix the oils, follow these steps:
- Prepare a clean and sterilized glass bottle to ensure the purity of your oil blend.
- Choose your desired essential oils and carrier oil. Essential oils are highly concentrated, so it’s important to dilute them with a carrier oil such as sweet almond, jojoba, or coconut oil.
- Use a dropper or pipette to measure the exact number of drops needed for each essential oil. The number of drops will depend on the recipe or desired strength of the blend.
- Combine the chosen essential oils with the carrier oil in the glass bottle. Make sure to follow the recommended ratios for the specific blend you are creating.
- Secure the bottle tightly to avoid any leakage or contamination.
- Shake the bottle well to ensure thorough mixing of the oils. This will help the essential oils disperse evenly throughout the carrier oil.
By following these steps, you will be able to create a well-mixed oil blend that is ready for use. Remember to label the bottle with the name of the blend and the date it was created for easy reference in the future. Enjoy experimenting with different essential oil combinations to create personalized blends that suit your needs.
Label and store the blend
Label the bottle with the name of the blend, the ingredients used, and the date of creation. This step is essential for keeping track of your blends and ensuring their freshness. Use a permanent marker or a label maker to clearly write the name of the blend on the bottle. Include the names of all the ingredients used in the blend, as this will be helpful for future reference. Additionally, write down the date on which the blend was created. This will help you keep track of its shelf life and determine when it needs to be replaced.
Store the blend in a cool, dark place to preserve its effectiveness. Find a suitable location in your home where the blend can be kept away from direct sunlight and extreme temperatures. Exposure to sunlight and heat can degrade the quality of the blend and reduce its effectiveness over time. A cool and dark place, such as a cabinet or drawer, is ideal for maintaining the potency of the blend. Make sure the bottle is tightly sealed to prevent air and moisture from entering. By following these storage instructions, you can ensure that your blend remains fresh and effective for an extended period of time.
Test and use the blend
Before using the blend, it is important to perform a patch test on a small area of skin to check for any adverse reactions. To do this, apply a small amount of the blend onto the inside of your wrist or behind your ear. Wait for 24 hours and observe for any redness, itching, or irritation. If there are no negative effects, it is safe to proceed with using the blend.
To alleviate cold and flu symptoms, apply a small amount of the blend to the chest, back, or soles of the feet. Gently massage the blend into the skin using circular motions. Reapply as needed throughout the day to maintain the desired effect. The blend can be used in the morning, afternoon, and evening, or whenever symptoms arise.
It is important to note that the blend is for external use only and should not be ingested. Avoid contact with eyes and mucous membranes. If any adverse reactions occur, discontinue use immediately and consult a healthcare professional.
Key Takeaways from the Conclusion
In conclusion, creating a homemade essential oil blend for cold and flu symptoms can be an effective and natural remedy. We have discussed the importance of gathering the right ingredients, diluting the oils properly, and storing the blend correctly to ensure safety and effectiveness. It is crucial to remember to test the blend on a small area of skin before use to check for any potential reactions. Additionally, if you have any concerns or underlying health conditions, we recommend consulting a healthcare professional before incorporating essential oils into your routine. With proper care and guidance, homemade essential oil blends can provide relief and support during cold and flu season. Stay well!
Necessary supplies
Expert Recommendations
Application methods for optimal results
- Begin by choosing the right essential oils for cold and flu relief. Some popular options include eucalyptus, peppermint, tea tree, lavender, and lemon
- Dilute the essential oils before use. This can be done by mixing a few drops of the essential oil with a carrier oil, such as almond oil or coconut oil. A general guideline is to use around 1-3 drops of essential oil per teaspoon of carrier oil
- Inhalation is a common method for using essential oils to relieve cold and flu symptoms. You can add a few drops of essential oil to a diffuser or a bowl of hot water, then inhale the steam. Another option is to put a few drops on a tissue or cloth and inhale directly
- Topical application is another way to use essential oils. Mix a few drops of the diluted essential oil with a carrier oil, then gently massage it onto the chest, neck, back, or feet. This can provide relief from congestion and support the immune system
- It’s important to do a patch test before using any essential oil on your skin, especially if you have sensitive skin or allergies. Apply a small amount of the diluted oil mixture to a small area of your skin and wait for 24 hours to check for any adverse reactions
- Keep in mind that essential oils should not be ingested unless specifically indicated for internal use by a certified aromatherapist or healthcare professional
- Lastly, always store your essential oils in a cool, dark place, away from direct sunlight and heat, to ensure their potency and longevity