
In this step-by-step guide, we will explain how to apply detox foot pads. Detox foot pads are a popular method for removing toxins from the body through the feet. These pads are usually made from natural ingredients such as bamboo vinegar, tourmaline, and various herbs. The purpose of this guide is to provide you with clear instructions on how to properly apply these pads to maximize their effectiveness. By following these steps, you can ensure that you are using detox foot pads correctly and reaping their potential benefits.
Step 1: Cleanse and dry your feet
To begin the foot cleansing process, start by washing your feet thoroughly with warm water and soap. Ensure that you cover all areas of your feet, including in between your toes and the soles. Gently massage the soap into the skin to remove any dirt, sweat, or bacteria. Rinse your feet with clean water to remove all the soap residue.
After washing, it is crucial to dry your feet completely. Use a clean towel and gently pat your feet dry, paying extra attention to the areas between your toes. Make sure there is no moisture left on your skin, as dampness can create a favorable environment for fungal or bacterial growth.
Remember, proper cleansing and drying of your feet is essential for promoting foot health and preventing any potential foot problems. By following these simple steps, you can maintain clean and healthy feet.
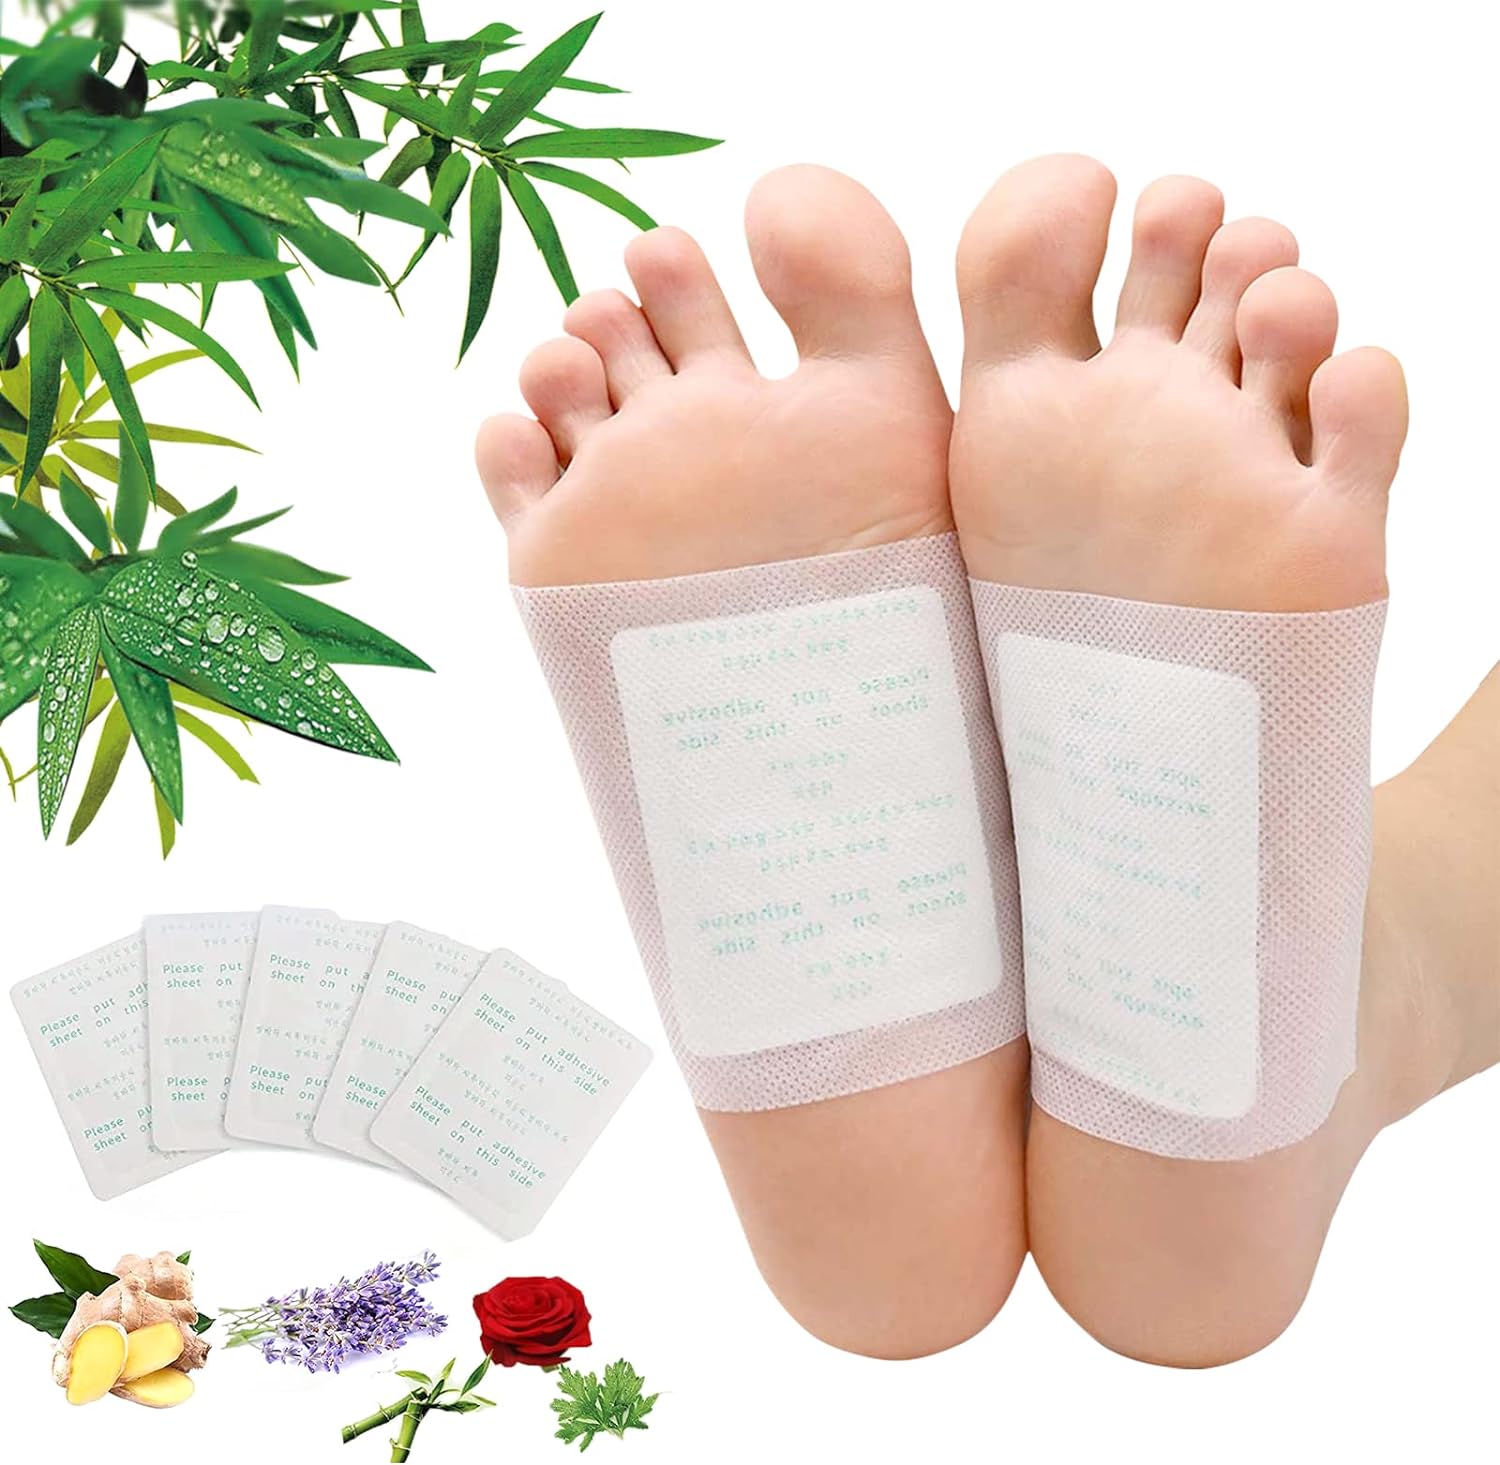
Step 2: Peel off the adhesive backing
To peel off the adhesive backing from the detox foot pad, follow these simple steps:
- Start by locating the adhesive backing on the detox foot pad. It is usually a thin, protective layer that covers the sticky surface of the pad.
- Gently grasp one corner of the adhesive backing using your thumb and index finger. Take care not to touch the sticky surface underneath.
- Slowly peel back the adhesive backing in a smooth and controlled motion. Avoid pulling it off too quickly, as this may cause the backing to tear or leave residue on the pad.
- Continue peeling until the entire adhesive backing is removed, exposing the sticky surface that will adhere to your feet.
Remember, it is important to handle the adhesive backing with care to ensure a clean and effective application of the detox foot pad.
Step 3: Apply the foot pad to the sole of your foot
To apply the foot pad to the sole of your foot, start by peeling off the protective backing from the sticky side of the pad. Then, carefully place the pad onto the center of your sole. Make sure it covers the entire area and sticks firmly.
Here’s a step-by-step guide to help you apply the foot pad:
- Peel off the protective backing from the sticky side of the foot pad.
- Hold the pad by the edges to avoid touching the sticky surface.
- Position the pad over the center of your sole, aligning it with the arch of your foot.
- Gently press down on the pad, starting from the center and moving towards the edges.
- Smooth out any wrinkles or air bubbles to ensure proper adhesion.
- Once the pad is securely in place, avoid touching or readjusting it as this may reduce its effectiveness.
- Repeat the process for the other foot if necessary.
Remember, it’s important to apply the foot pad to clean, dry skin for optimal adhesion. If you experience any discomfort or irritation while using the foot pad, remove it immediately and consult a healthcare professional.
Step 4: Repeat for the other foot
Apply another detox foot pad to the sole of your other foot following the same steps as before. Start by preparing the foot pad and peeling off the backing to reveal the adhesive side. Just like with the first foot pad, make sure your foot is clean and dry before applying the detox pad.
Next, carefully place the adhesive side of the foot pad onto the sole of your other foot, ensuring it is positioned in the center. Gently press down on the pad to make sure it adheres well to your skin.
Once the foot pad is securely in place, you can put on a clean pair of socks to help keep the pad in position throughout the night. Remember, it is essential to avoid walking on the foot pad to prevent it from becoming dislodged.
Repeat this process every night for the desired duration of your detox program. By consistently applying the foot pads to both feet, you can ensure a comprehensive detoxification process for your entire body.
For example, if you are using a 7-day detox program, you would apply a new foot pad to each foot every night for seven consecutive nights. This will help maximize the benefits of the detox foot pads and enhance their effectiveness in drawing out toxins from your body.
Step 5: Leave the foot pads on overnight
- Allow the detox foot pads to remain on your feet overnight: This step is crucial to ensure the ingredients in the foot pads have enough time to work effectively. We recommend leaving the foot pads on for a minimum of 6-8 hours, or ideally overnight. By doing so, you give the active ingredients in the pads enough time to draw out toxins and impurities from your body.
- Prepare for a comfortable night’s sleep: Before going to bed, make sure your feet are clean and dry. You can opt to wear socks over the foot pads to prevent them from moving around during the night. It is also a good idea to place a towel or a disposable mat near your bed to catch any excess liquid that may seep out of the foot pads.
- Examples of overnight application: Here are a few examples to help you visualize how to leave the foot pads on overnight:
- Apply the foot pads before going to bed and remove them in the morning upon waking up.
- If you prefer to have a longer application time, you can put on the foot pads a few hours before bedtime and keep them on until you wake up.
Remember, the longer you leave the foot pads on, the more time the ingredients have to work their magic. So, it’s best to allow the foot pads to remain on your feet overnight to maximize their detoxifying benefits.
Step 6: Remove and discard the foot pads
Step 6: Remove and discard the foot pads.
To remove the foot pads in the morning, follow these steps:
- Start by washing your hands thoroughly to maintain cleanliness.
- Gently peel off the foot pads from your feet, starting from one corner and gradually working your way towards the other.
- Example: Begin by peeling off the top left corner of the foot pad and slowly pull it towards the opposite corner.
- Take caution while removing the foot pads to avoid any discomfort or injury.
- Once the foot pads have been successfully removed, dispose of them properly in a waste bin.
- Example: Wrap the used foot pads in tissue or newspaper before disposing of them to prevent any leakage or odor.
- Note: Do not flush the foot pads down the toilet as they can cause plumbing issues.
By following these simple steps, you can safely remove and discard the foot pads, ensuring a hygienic and effective foot care routine.
Step 7: Wash your feet again
After removing the foot pads, rinse your feet with warm water to ensure any residue is removed. Make sure the water is comfortably warm, but not too hot. Apply a small amount of mild soap onto your hands, and lather it up. Rub your hands together to create a soapy lather. Gently massage the soap onto your feet, paying extra attention to the areas between your toes and the soles of your feet.
Scrub your feet using a soft washcloth or a gentle sponge. Move the washcloth or sponge in circular motions, making sure to cover the entire surface of your feet. This will help to remove any remaining residue and exfoliate your skin. Take your time and ensure that you thoroughly clean all areas of your feet.
Next, rinse your feet again with warm water to remove the soap. Make sure to rinse off all the soap from your feet, as any residue left behind can cause irritation or dryness. Pat dry your feet with a clean towel, gently pressing to remove any excess moisture. Avoid rubbing the towel over your feet, as this can be too harsh on the skin.
By following these steps, you can ensure that your feet are thoroughly cleaned after removing the foot pads, leaving them refreshed and ready for further care or relaxation.
Key Takeaways
In conclusion, we have outlined the necessary steps to effectively apply detox foot pads and experience the benefits of cleansing and revitalizing your feet. By following these instructions, you can confidently incorporate this detoxification method into your self-care routine. Remember to consult with a healthcare professional if you have any concerns or pre-existing conditions before using detox foot pads. Take care of your feet and enjoy the rejuvenating experience!
Necessary Supplies
Effective Detox Methods
Using Detox Foot Pads: A Step-by-Step Guide
- First, start by washing and drying your feet thoroughly. This will help remove any dirt or sweat on your feet, ensuring better adhesion of the foot pads
- Next, peel off the protective film from the adhesive side of the foot pad. The adhesive side is the one that will come in contact with the sole of your foot
- Carefully place the foot pad on the center of your sole, making sure the adhesive side is securely attached to your foot. Gently press it down to ensure good contact
- Repeat the process for the other foot, placing the foot pad on the sole in the same manner
- Once the foot pads are attached to both feet, it is recommended to wear socks over them to prevent them from shifting during sleep or movement
- Leave the foot pads on overnight or for the recommended duration specified by the manufacturer. This allows the ingredients in the foot pads to work effectively
- In the morning, carefully remove the foot pads and discard them. You may notice a dark or discolored appearance on the foot pads, which is believed to be the result of toxins being drawn out from your body
- Wash your feet again to remove any residue from the foot pads and pat them dry
- It is important to note that the effectiveness of detox foot pads is a topic of debate, and scientific evidence supporting their claims is limited. Therefore, it is advisable to consult with a healthcare professional before using them and to follow the instructions provided by the manufacturer
The pads are always black whether I wear overnight or during the day?
If your foot detox pads are always black, regardless of how long you wear them, it’s most likely because the color change is simply a reaction to your foot sweat and the chemicals in the pad itself. Each person has different reactions as toxins are being pulled into the pads.